Support Us
If you like our work, please consider giving us a tip. Even small donations helps us a lot to keep development going

Example shows how to create Custom Card and add it to Cards Menu. Example uses ColorPicker component cooperating with RGB Led device from Customized device example (it is recommended to check Customized device example first). ColorPicker component is displayed in Custom Card.
Full example code can be found on examples/CustomCard branch of stargate-js-mono repository. Here you can see code that was added.
Setup
Before modifying User Interface, you need to set up device having RGB Led connected. In attached .zip package, you can find RGB_LED_Arduino and RGB_LED_Raspberry directories, which contains device code ready to use with relevant platform (check declared pin numbers to connect your led).
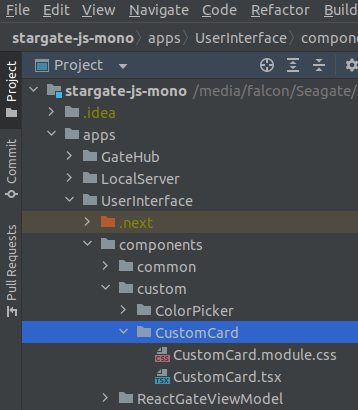
Once your device is ready, set up project as in Customization reference. Create custom directory (if not exists) under ./apps/UserInterface/components and copy CustomCard from attached .zip package to created directory. If you haven't completed Customized device example yet, copy ColorPicker as well.
ColorPicker component uses react-colorful library internally, so if you didn't install it already, you need to do it now by running
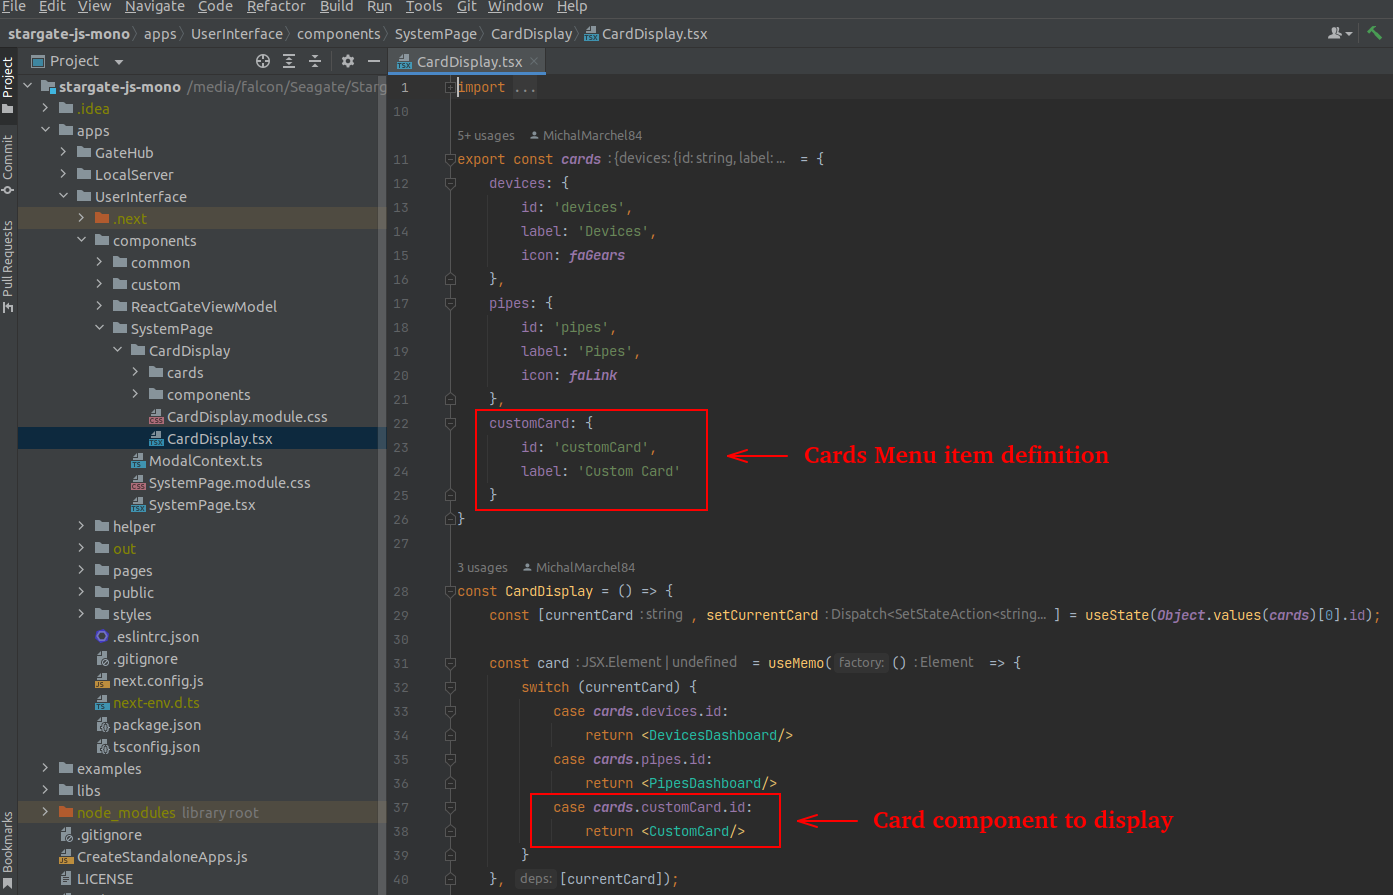
When the above is done, add menu item definition to cards object and CustomCard component to switch-case statement, as shown in Custom Card reference section.
npm -w ./apps/UserInterface install react-colorful
command in terminal under stargate-js-mono root directory.When the above is done, add menu item definition to cards object and CustomCard component to switch-case statement, as shown in Custom Card reference section.
Now your project should be ready. Start development server or build and replace User Interface on destination server to see the results. Check attached code snippets to find out how components are wired together.